I hope you all had a special Memorial Day holiday! I surely did. Spent alot of time with friends and family and even extended the long weekend a day longer by following it all up with a surprise party for my parent’s 30th anniversary Tuesday night. Such fun!
But as you may have seen if you follow my Facebook, I began the weekend with a little “crafting” on my back deck. I wanted to jump into the beautiful weather as fast as possible while still doing something productive, so I tackled a few fixer-upper furniture projects I’ve been meaning to get to for a while.
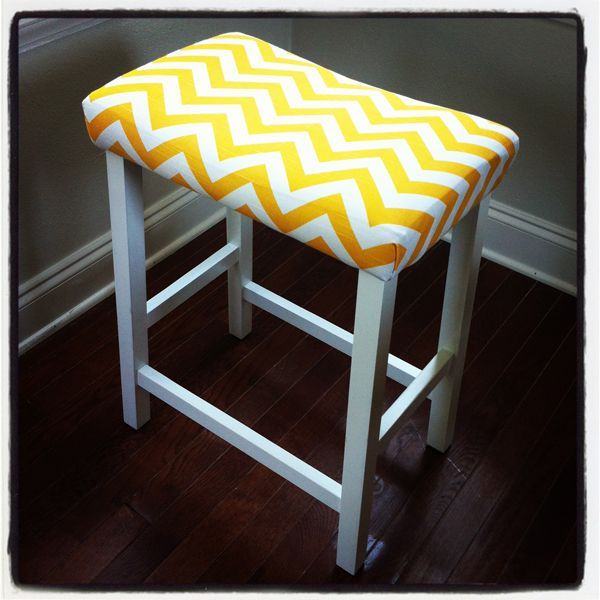
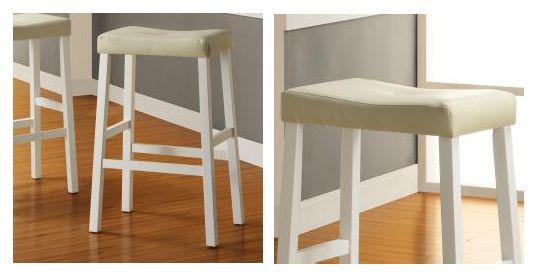
 I started with this sad little bench that I picked up for $10 at an estate sale a couple months ago.
 It was the perfect little bonus piece I needed to fill an empty space in the kitchen to serve as extra pull-up seating, a surface for the purses that get tossed or a shield for the shoes that get kicked off.
 It had potential… just needed a little TLC.
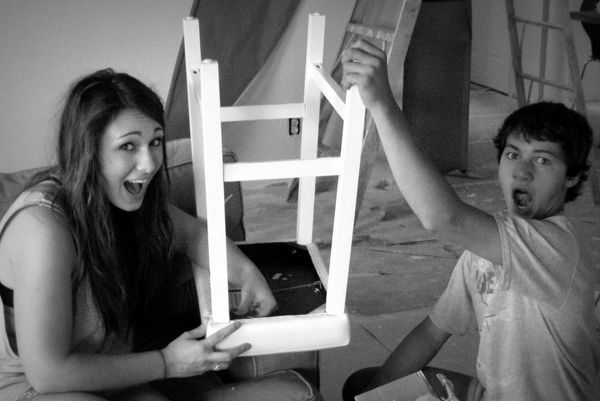
 Step 1: Detach the top from the base, in this case by unscrewing the screw in each corner underneath the bench with a flat-head screwdriver.
 Step 2: Prep the “splash zone” for painting. I layered plastic trash bags over my patio table.
 Step 3a: Assemble the troops. Liquid sander and applicator (rag or paper towels), paint of choice (with corresponding paint tools) and disposable gloves for the splash-inclined like myself.
 Step 3b: Station your trusty guard dog is at his post to keep an eye on things and keep you company. This step is not required, but recommended for a more enjoyable painting experience.
Step 4: “De-gloss” the piece with liquid sander. This is a quick and easy way to clean the item and break through an existing top coat finish. It basically makes the surface better for paint to adhere to without the mess and elbow grease of sanding with sand paper.
 Step 5: PAINT! (Prime first if needed. I didn’t in this case as I planned on two coats of thick paint, so the first coat was like my primer.) I used a high-gloss oil base paint from Sherwin Williams (color: SW 6938 Synergy) as it was a color I had on hand and had used elsewhere in the kitchen. Oil base is harder to work with and takes longer to dry… but it sure is pretty. For easier clean-up and faster dry-time, I’d recommend latex paint or even spray paint if they have the color you need.
 Step 6: Wait. Follow the dry-time instructions for whichever paint you use. I let the first coat dry overnight, and put a second coat on the next day.
Meanwhile… I tackled recovering the bench seat. Which I will cover in a Part 2 post tomorrow! 🙂


