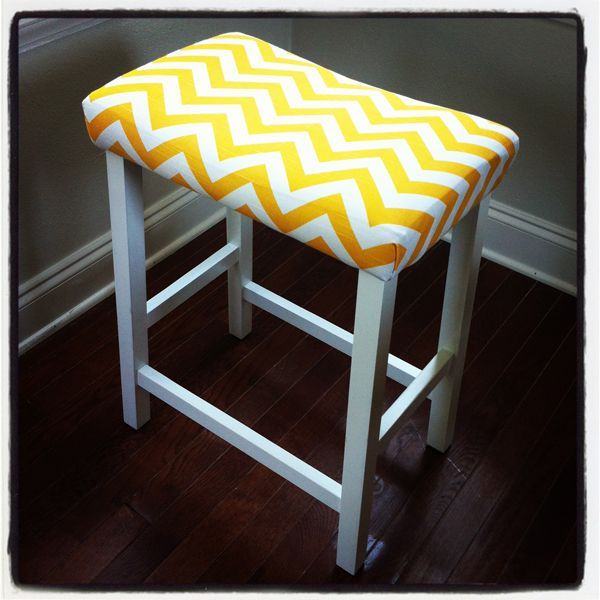
So remember in my Barstool Fix post a couple days ago when I said I’d tell you how I made buttons for them? Well that’s what I’m going to share with you today.
Picking up where we left off…
 So I had these lovely recovered barstools. I wanted to add a touch of pizzazz with a single button in the center. After attempting to various methods of recover the existing button (not worth it), I consulted my sewing savvy friend Rachel. She recommended this button making kit available at Hobby Lobby:

This kit is super simple and comes with everything you need to make a button except the fabric. I chose an aqua gros grain ribbon.
Start by cutting out the cardboard template on the back of the box. Double your piece of fabric over, align template with straight edge against fabric’s folded edge like so:
Cut the fabric to the shape of the template:
Unfold your cut fabric piece. Place your fabric circle over the rubber mold, with the right side of the fabric facing down into the mold, like so:
Place the shell of the button face down on top of your fabric circle:
Once you press the button shell into the mold, tuck the excess fabric edges inside the shell and hold in place with the button back, as shown below:
Now you’re almost done – simply place the pusher (thimble like device) over the back of your button:
Press the pusher until you hear/feel the back snap, locking the button back into place within the button shell rim. This creates a seal so that your fabric is pulled tight and can’t escape – mwhaha. When the button is complete, peel the mold back and stare in awe at your adorable little button:
In this application, I secured the button with heavy duty needle & thread straight through the center of the seat cushion, pulling tight from the bottom and stapling the thread into place.
And so there you have it folks, a pretty cute collection of inexpensive custom barstools.
And they all lived happily every after.
(Shout out to Rachel W for the button kit tip and Laura K for documenting the process on camera – y’all rock!)
